Creating a Subdomain in cPanel
Subdomains are prefixes that you add to your main domain to create a new destination on your hosting account.
For example, if your domain name is "example.com" then a possible subdomain could be "buy.example.com". Adding a subdomain will give you the option to add separate content to your site while staying on your domain. Here's how:
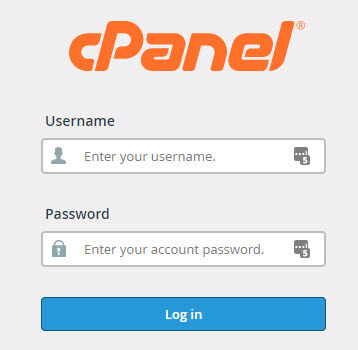
First, log in to cPanel (https://yoursite.com/cpanel).

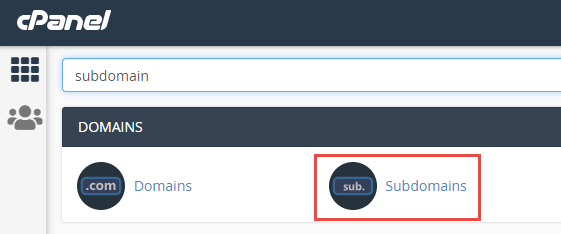
Using the search feature, type "subdomain" and you should see it auto-populate the search results so you can select it.

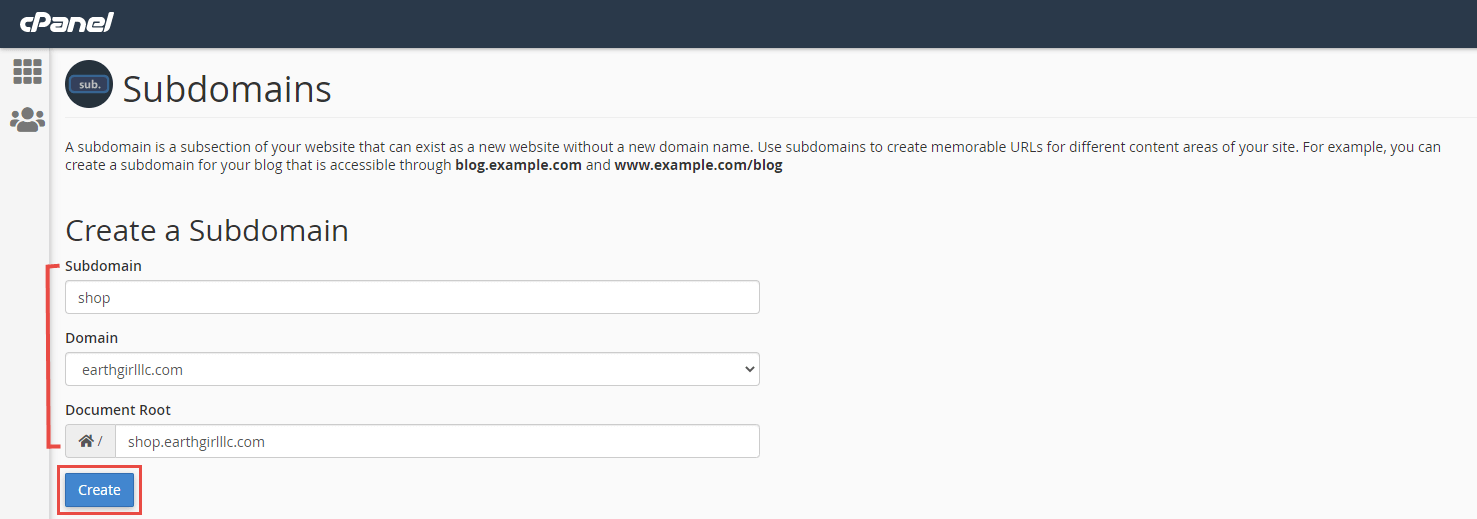
In the form, fill in your details:
- Subdomain: this will be your prefix (e.g., prefix.yourdomain.com)
- Domain: if you have more than one domain on your account, select the one you want to append to
- Document Root: this will auto-populate with the prefix. This tells you where to upload files that you want to appear in your subdomain.
When you're done, click Create.

You'll see a confirmation page where you'll click Go Back, then you'll then see your new subdomain listed in the list below the form:

In this section there are five columns:
- Subdomains.Root Domain: This is just the name of the subdomain(s) created
- Document Root: This is where files for that sub-domain are stored in your file manager
- Redirection: This is useful if you need a portion of your site to direct somewhere else, perhaps an affiliate link? You can enter that here.
- Actions: Here you can delete the subdomain
- Manage Redirection: Use this to change the destination of the subdomain
Adding a subdomain can be very useful for additions such as blogs, PPC landing pages, resource sections (downloads.example.com). Subdomains are not recommended as the main landing page or anything you hold in high esteem for SEO purposes. If you want to create separate sections, it's better to use subfolders:
http://example.com/vintage
vs. a subdomain:
http://vintage.example.com
...even though it, arguably, is prettier.
Photo by NESA by Makers on Unsplash
